|
|
||||||
 |
||||||
| < Previous | Header Installation on
the #702 Rabbit GTI (Stephen Jones) |
Next > | ||||
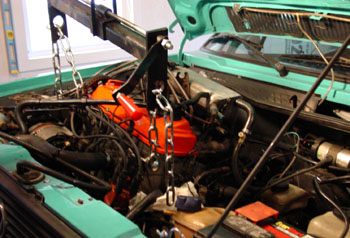
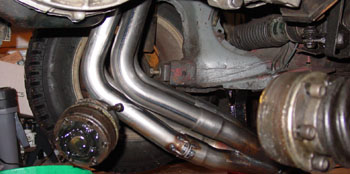
I thought the installation of the header would be straight forward.... jack the car up high enough to allow for the height of the header (the height of the downpipe), lift it into place and bolt it on. Not the case. The width of the flange that bolts to the head was wider than the distance between the unibody where the A-arms connect. I tried disconnecting the axles to give me more room but this didn't help either. I decided I needed to disconnect the engine engine and slide it forward as much as possible... this was after my numerous attempts to swing it forward on the passenger side motor mount (aka the 'front' of the engine). |
 |
|||||
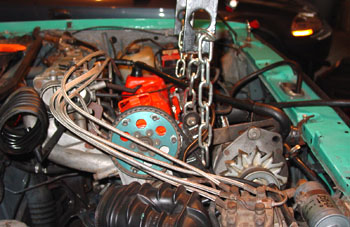 |
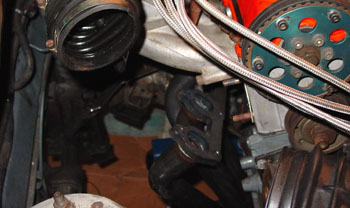
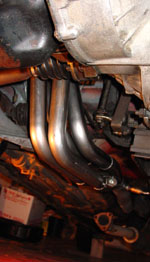
After moving the engine forward I was able to move the header into place and tighten the nuts. One thing I did notice with this header was that I could not get a socket over the nuts at the ends of the header because the primary pipes were in the way. I had to use a open-ended wrench (couldn't get the box-end around the nut either) which took some time to tighten. I had to suffer through the wrench tightening and loosening of these nuts during the 2002-2003 winter season when I had to remove the engine twice. I would strongly recommend that for a header installation, do it while you still have the engine out of the the car. Of course, with today's crossflow heads, the header installation is quite simple. But, the old style engines where the intake and exhaust manifolds are on the same side, do it with the engine on the floor. |
|||||
 |
||||||
 |
||||||
 |
||||||
| < Previous | Next > | |||||